Last checked: 2026-06-24. Ticketing, opening, security, and holiday arrangements can change; verify current Palace Museum instructions before travel.
A good Forbidden City photo route is not only about finding beautiful buildings. It is also about knowing where people stop, where the light is harsh, when the central axis gets crowded, and when a photo idea is worth giving up so the visit still moves smoothly.
This guide is for travelers who want strong photos without turning the Palace Museum visit into a slow photo shoot. Rules, temporary closures, and visitor-flow controls can change, so check the official Palace Museum visitor information before your date and follow on-site signs once inside.
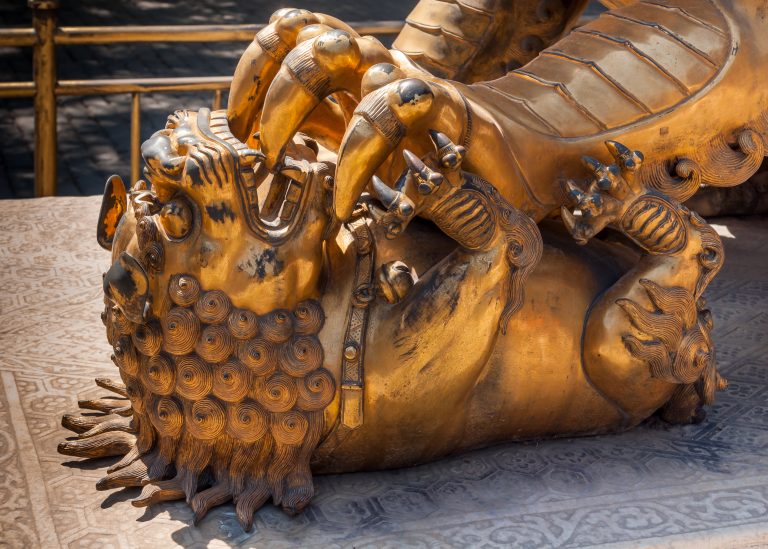
Think of photos as part of the route, not a separate mission
The easiest mistake is to chase every angle from the moment you enter. The Forbidden City is long, and the visitor flow generally rewards forward movement from the south toward the north. If you stop too often in the first courtyards, the middle of the visit can become rushed, especially if you still want the inner court, Imperial Garden, or a north-exit plan.
Use a simple rule: take quick establishing photos in the first courtyard, save slower photos for side edges and less crowded pauses, and do not block the main center line. If this is your first visit, start with the route logic in the best Forbidden City route guide, then add photo stops around that structure.
Meridian Gate and the first courtyard
The area after entry gives you scale: red walls, broad paving, gates, bridges, and visitors moving into the palace. It is tempting to spend a long time here because everything feels new. The better plan is to take a few wide shots, then move aside if you want portraits or detail photos.
For wide courtyard photos, stand toward the side rather than directly in the middle of the flow. This keeps your photo cleaner and makes it easier for other visitors to pass. If your group wants a portrait, choose a wall or side angle, take it quickly, and move on before the entry area becomes a bottleneck.
Morning light can be easier for entry-area photos, but the bigger benefit of early arrival is crowd control. If you are still deciding when to enter, compare photo goals with the Forbidden City opening hours and best entry time guide.
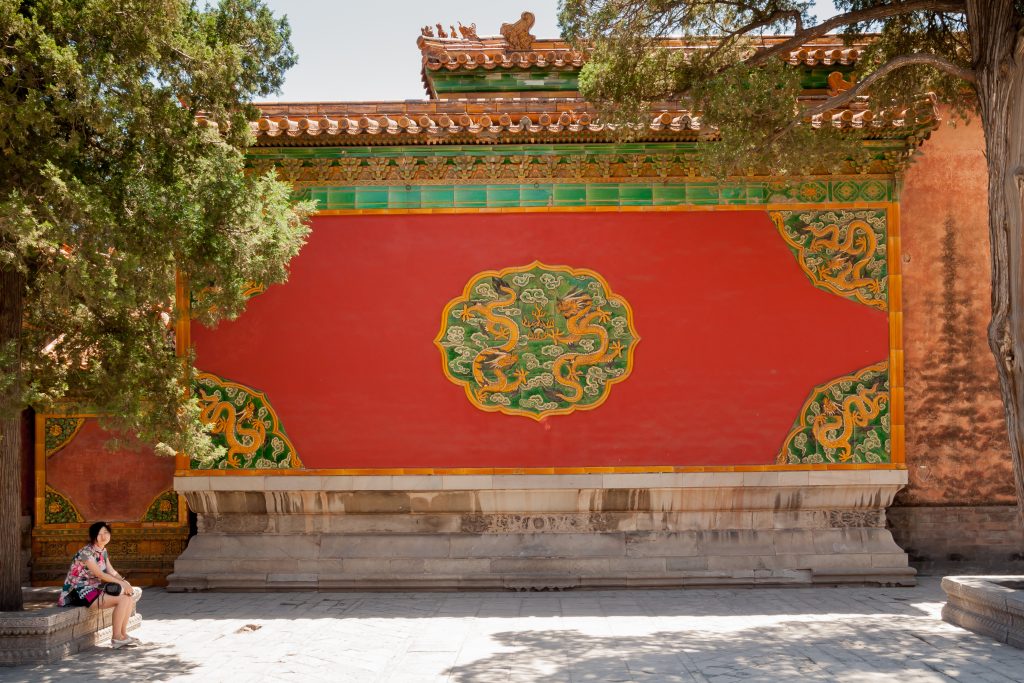
Central-axis halls: go wide, then move to details
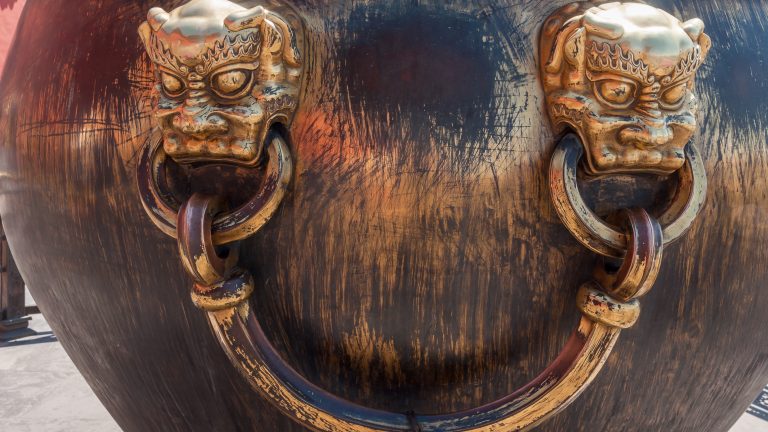
The central-axis halls are the classic Forbidden City photos, but they are also where many people stop at the same time. For the Hall of Supreme Harmony and the surrounding terraces, first take a wide view that records the scale. Then move to smaller details: bronze vessels, railings, rooflines, carved stone, doors, and color patterns.
This two-step approach works better than waiting for an empty central-axis shot that may never happen on a normal day. A photo with visitors can still explain the size of the space. If you want cleaner architecture images, use side angles, vertical framing, and roof details instead of fighting the main crowd line.
The Hall of Supreme Harmony deserves extra time if you care about palace architecture, but it should not consume the whole visit. Use the Hall of Supreme Harmony guide to understand what to look for before you arrive, so you are not reading long explanations while standing in the busiest viewing area.
Use side edges for portraits
Portraits inside the Forbidden City usually look better from the side than from the center. A side wall, gate opening, or quiet edge of a courtyard gives you a cleaner background and less pressure from people walking behind you. This also keeps the main route clear.
If you are traveling with family or friends, decide in advance which moments matter: entry portrait, central-axis scale shot, one roof-detail photo, and one quieter inner-court image. A short list prevents the day from becoming a constant request to stop, pose, and retake photos.
Tripods and large camera setups are often more trouble than they are worth for ordinary visitors. A phone or small camera is easier to manage in crowds, and it reduces the chance that your group slows down near narrow passages or hall fronts.
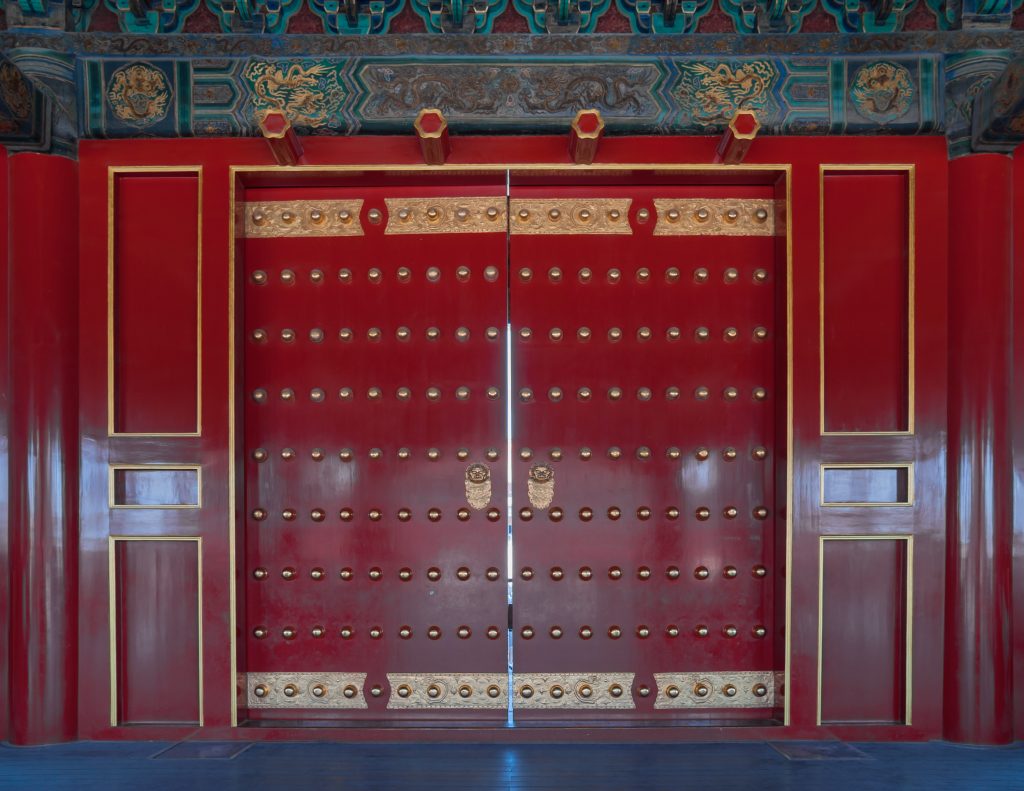
Inner court and side palaces: slower photos, smaller scenes
After the largest halls, the Forbidden City becomes more varied. Courtyards feel smaller, rooflines overlap, doorways frame views, and side routes create opportunities for quieter photos. These areas are useful if you want images that feel less like the standard postcard route.
The tradeoff is time. Side palaces can make the visit richer, but they also pull you away from the simple south-to-north line. If you only have a half day, choose one or two side stops instead of trying to photograph every courtyard. The Forbidden City half-day itinerary can help you decide how much room you really have.
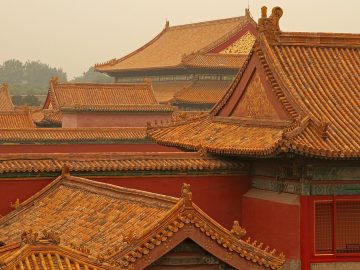
For detail photos, look for repeated patterns: red doors against gray stone, gold roof edges against the sky, shadow under eaves, bronze animals, glazed tiles, and small thresholds. These subjects often photograph better than distant hall fronts when the main route is crowded.
Imperial Garden and the north exit
The Imperial Garden is one of the most attractive photo areas, but it can also feel congested because the route is narrowing near the end of the visit. Rockeries, trees, pavilions, and small paths create good images, but the space does not handle long posing sessions well.
If the garden is crowded, take a few quick context photos and keep moving. Do not treat it as the place where every group photo must happen. If you want a calmer finish, consider whether Jingshan Park, outside the north exit, is a better place for a final wide view of the palace area.
For that decision, read the Forbidden City and Jingshan Park route guide. It is often the better plan for travelers who want skyline photos or a final overview rather than more close-up palace details.
What to skip on a busy photo day
Skip any photo that requires your group to stand in the center of a moving path for too long. Skip repeated versions of the same gate if the light and angle have not changed. Skip heavy camera gear if it makes security, walking, or crowded spaces harder. Skip the idea of an empty palace photo unless you are visiting in unusually quiet conditions.
Also skip over-editing your plan around one imagined image. Weather, temporary barriers, visitor density, and sun position can all change the result. The better travel memory is a smooth visit with several usable photos, not a tense day built around one perfect shot.
A practical photo sequence
- Entry area: one wide gate or courtyard view, plus a quick side portrait if the group wants one.
- Central axis: one scale photo of the main halls, then roof, railing, bronze, and color details from the side.
- Inner court: slower photos of doorways, smaller courtyards, and layered rooflines.
- Imperial Garden: quick garden context photos unless the area is unusually calm.
- After exit: choose Jingshan Park if you still want a high overview instead of more palace close-ups.
The strongest Forbidden City photo route is light, flexible, and respectful of the people around you. Build photos into the visit rather than letting them interrupt every step. You will come away with better images, a calmer group, and a route that still feels like a real palace visit instead of a long queue for poses.
Related Forbidden City Guides